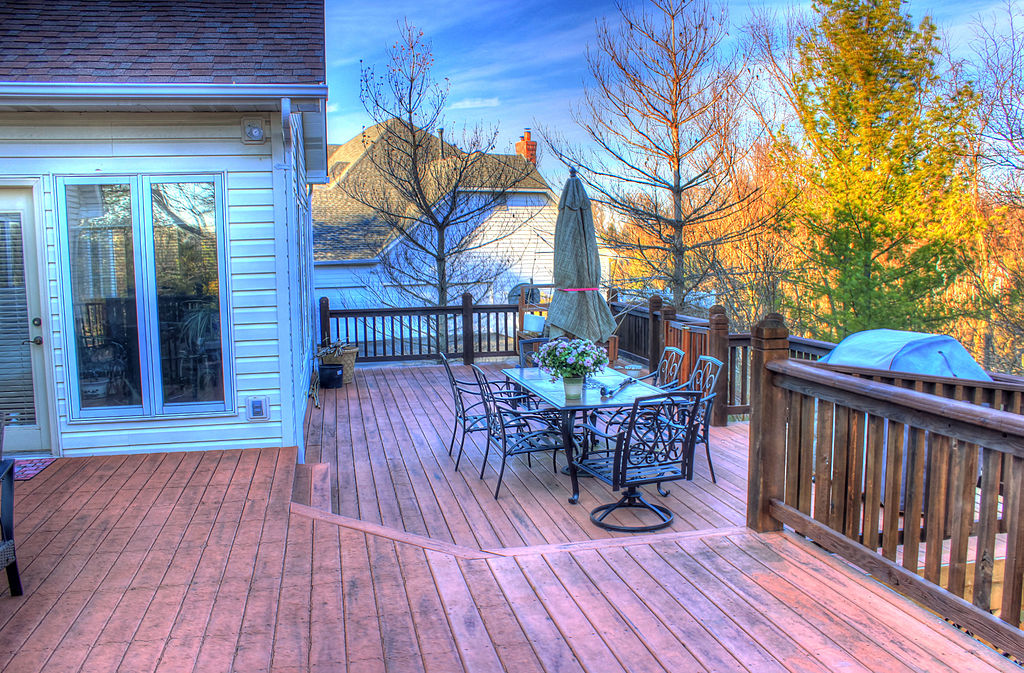
When cold weather approaches, the process of winterizing is an important step to mitigate damage that can come along with winter temperatures. There are different ways to winterize various aspects of your home, but homeowners often overlook the importance of winterizing their outdoor decks. Failure to take care of your deck before and during winter can lead to discoloration, structural damage, cracks and other problems that can destroy the value of your investment. Below are some steps to take to winterize your outdoor deck for full enjoyment during the spring and summer:
Inspect Your Deck
Before you can begin the process of winterizing your outdoor deck, you first want to inspect the deck. Check the fasteners to ensure that components like domestic timber bolts are secure and are not showing signs of corrosion. If you need to replace HDG timber bolts, you can request a quote or shop locally, although your local hardware store may only carry a limited selection of galvanized timber bolts.
Replace Damaged Or Warped Boards
You also want to inspect the boards that make up the deck’s flooring and rails. Make note of areas where paint is peeling or cracked. While you’re inspecting your deck, take a few steps back to see if you notice any unevenness across the structure of your deck. You can use a level to check areas around your deck that may appear warped.
Over time, foundation settling can occur with a deck just like with a house. If the ground has shifted under the deck, you may notice that boards no longer sit together tightly or that flooring planks are no longer straight. If you notice uneven boards, it’s important to fix them before the winter. Cold weather can cause wood to shrink, so if you’re already having issues with lumber sitting evenly, this problem may only get worse in cold or snowy conditions.
Clean Your Deck
After inspection, you will want to prepare your deck for cleaning by removing all outdoor furniture and debris. You can then clean your deck by either power washing it or scrubbing it with a deck cleaning solution. When looking for a cleaning solution, make sure your options are free from bleach or chemicals that can lead to damage. Even if a cleaning solution is marketed as safe for wooden decks, applying too much or applying the cleaner too frequently can lead to damage to your deck over time.
Apply New Stain And/Or Sealant
Once you have cleaned your outdoor deck, pour a little bit of water around the deck’s surface to check for beading. If the sealant is still good, you should notice the moisture creates beads that can be easily squeegeed off. If moisture soaks into the wood, you will want to apply new stain. This may only happen in some spots, so be prepared to spot-treat the areas that need restaining or resealing. If you have a painted deck, now is the time to apply fresh paint to the areas you noted previously. If paint has cracked or peeled, you will want to scrape the old paint off in these areas using a paint-scraping tool. You may need to scrape off a few extra inches around areas where the paint is peeling to get an even finish.
Enclose Your Deck
Although it’s not always necessary, you can also consider temporarily enclosing your deck during the winter. To do this, you can craft a makeshift cover for your deck using shower curtains or polymer sheets. Consider erecting poles around your deck to make walls using plastic sheeting as well. This can create a protective barrier from the elements if you aren’t planning on using your deck during the winter.